How to Stain Wood Floors

Hardwood floors are a timeless choice many homeowners love for their durability and low maintenance. Staining your floors is a great way to preserve them for years. It prevents wear and tear around your home, can increase your home's value and adds natural tones to your home decor for a more balanced look. Whether you have traditional wood floors or parquet wood flooring, our guide will help you achieve professional results on your next floor staining project.

Consider This Before Staining Your Hardwood Floors
Before staining your floors, you need to determine a few project elements. Knowing what you're working with will help you determine how long your project will take and the tools you need to be successful with minimal frustration.

Types of Hardwood Flooring
Hardwood flooring is typically made from deciduous trees like oak, maple and walnut. Knowing the type of wood flooring you have can affect the type of stain you use. While oak and walnut take stains very easily, maple wood floors require a wood conditioner, several coats of stain or a thicker stain to achieve the desired color.
Can You Stain Engineered Wood?
What if you have engineered wood floors instead of hardwood floors? You can stain your engineered wood floors, but you must understand what engineered wood is. Engineered wood has a very thin layer of hardwood on top, followed by several pressed layers of plywood, so you'll need to be careful when sanding so that you don't expose the plywood underneath.
When it comes to staining and refinishing your engineered wood floors, you can only do it so many times before replacing the flooring. Solid hardwood floors are more durable in that regard.
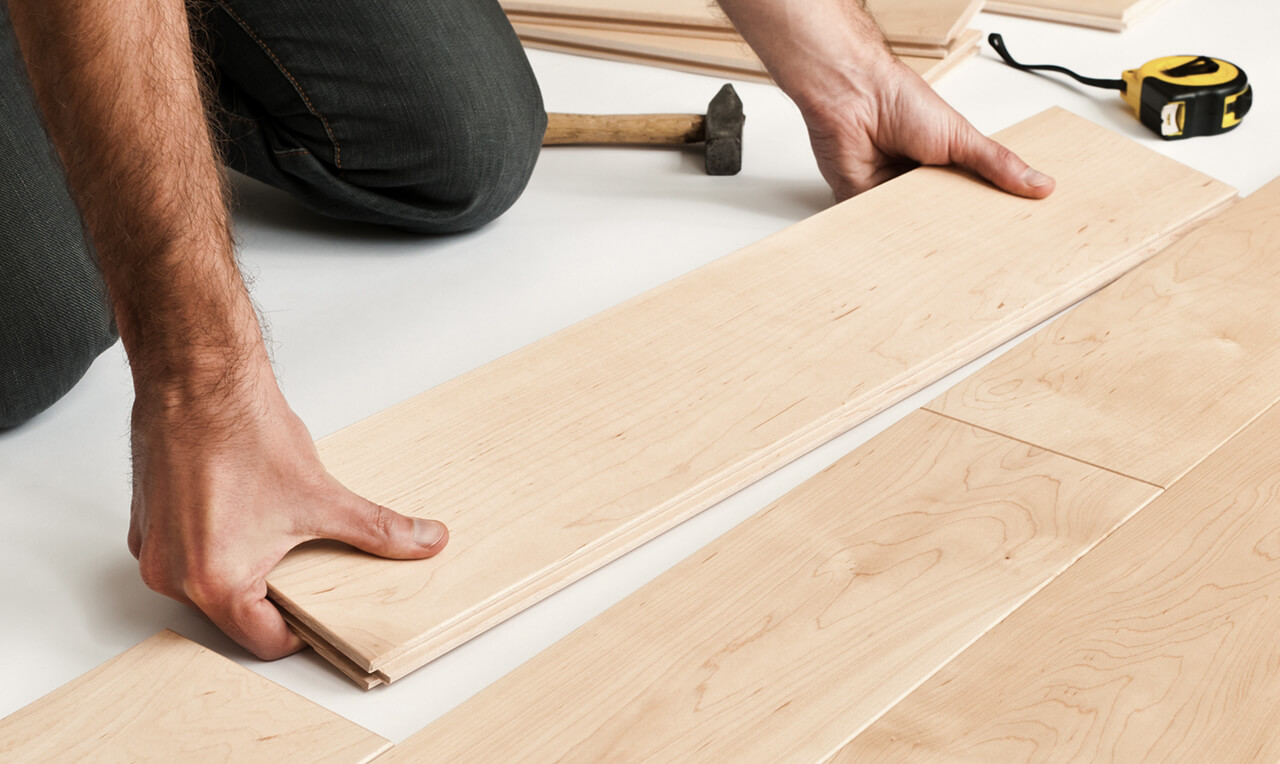
Do I Have Hardwood or Engineered Wood Floors?
Knowing whether you have hardwood or engineered wood floors can affect how you approach this project. You can start by looking at the individual planks on the floor for uniformity. Hardwood plants tend to come in different lengths, while engineered wood plants are more uniform.
For more sure-fire confirmation, find an access point to examine the layers of your flooring planks. Check around your heating registers or carefully pull up a loose board in an inconspicuous area. Hardwood is generally one solid piece of wood where you can even see the tree rings, while engineered wood is made of several wood layers pressed together.
 Hardwood |
 Engineered Wood |
|
|---|---|---|
Construction |
Made from a solid piece of wood. | Has a thin, solid wood top layer veneer and then pressed to several layers of plywood. |
Durability |
Can add structural strength to a building. | Resistant to moisture and warping. |
Longevity |
Can be stained multiple times before replacement is required. | Thin wood veneer allows for a few refinishes before replacement is needed. |
Installation |
Installed directly onto the subflooring. | Can be nailed or stapled to the floor but can also be installed using the floating floor. |
Cost |
More expensive than engineered wood. | Cost-effective way to get the look of hardwood flooring without the price tag. |
Choosing the Right Stain
Choosing the right stain is crucial for achieving your desired look, and the decision goes beyond picking a color that compliments your style. Choose between a water- or oil-based stain, which will affect dry time and stain saturation. Oil-based stains offer deeper penetration and richer color, making them ideal for most hardwood varieties, while water-based alternatives provide faster drying times and easier cleanup with less odor.
When selecting your stain's transparency, darker, more opaque stains can hide imperfections but may obscure your wood's natural grain, while lighter, more transparent options showcase the wood's natural character.
Step-by-Step: Staining Your Hardwood Floors
Once you've planned out your project, it's time to stain your floors! Gather your supplies, and let's get started.
WHAT YOU'LL NEED
Project Supplies
- Tack cloth
- Staining Rags
- Protective face mask
- Wood conditioner – this is optional, depending on your wood floor type. When choosing a wood conditioner, make sure it uses the same compound base as the stain you're using.
- Wood filler – if needed to fill any large gouges in your flooring.
- Vacuum cleaner or shop vac
- Mineral spirits
- Floor sander (drum or orbital)
- Orbital hand sander
- Sandpaper – you'll need coarse, medium and fine grits.
- Chemical-resistant gloves
- Knee pads
- Wood stain – choose between oil-based or water-based, depending on your preference.
- Stain Pad
- Roller with 3/8-inch nap
- Polyurethane finish

Step 1
Prepare the Room
Start by removing all furniture and sealing off doorways and vents with a plastic drop cloth to contain dust. Inspect any protruding nails that should be countersunk below the wood surface. Clean the entire floor with mineral spirits to remove any lingering dirt or oils before sanding. Cover any remaining fixtures or walls with plastic sheeting and secure with painter's tape for maximum protection. Finally, open windows and set up fans for adequate airflow to ensure safety and optimal drying conditions.

Step 2
Sand the Floors
Properly sanding your floor will influence the result. If your floors were previously stained and finished, you'll still need to do some light sanding to ensure that your stain goes down evenly.
Address deep gouges on the floor first and fill them with wood filler. Doing this step before sanding will prevent you from trying to sand those deep grooves, which can cause more harm than good.
When sanding, start with a coarser sandpaper grit and work your way down. If your floors show only minor signs of wear, start with medium-grit sandpaper (80-120 grit) and work your way down. For deeper scratches, start with coarse-grit sandpaper (40-50 grit) and work your way down.
Tip: While you can sand your floor by hand, you'll be stuck at this step for a while. To cover more surface area, use a handheld orbital sander to save time and elbow grease. You can even rent a floor sander to breeze through this step.

Step 3
Clean the Floors
Take your time with this step. Cleaning the floor after sanding will ensure the stain is applied easily without spotting. Start by vacuuming the majority of the sawdust off the floor. Next, use a tack cloth to wipe up any remaining dust. You may have to wipe down the floor twice to ensure you've gotten all the sawdust off.

Step 4
Apply the Stain
There are many ways to apply stain, but there are a few that are the most efficient when staining the floor.
- Staining with a Rag. Staining wood with a rag eliminates stroke marks and allows better control of product distribution. The downside of using a rag is that you'll be working on your hands and knees to complete this project.
- Staining with a Roller. The most common method for staining hardwood floors is with a roller, especially when using an extension pole. Rollers are ideal for quickly covering a large surface area but won't be the best for tight spaces.
- Staining with a Staining Pad. This method blends the roller and rag methods to give you the best of both worlds. You can cover a lot of surface area while blurring stroke marks.
Now that you've chosen your preferred application method let's discuss techniques.
- Regardless of your chosen method, have a few rags handy to wipe away excess stain as you work. If you're using the rag method, use one rag to apply the stain and one rag to wipe off the stain.
- Work in small areas at a time to immediately wipe away excess stain.
- Apply stain in the direction of the wood grain.
- If you use a roller or staining pad, overlap your paint strokes slightly to maintain a wet edge and prevent lap marks.
Tip: An uneven sand will yield uneven stain results, but all is not lost if you're not confident in your staining abilities. Water popping your floors before staining will help to even out any sanding mistakes you may have made. Lightly mist the floor with water and wipe it down with a tack cloth before staining. Doing this will help open up the pores in the wood and create a richer stain color, minimizing the number of coats needed to get your desired color.

Step 5
Allow to Dry Completely
Patience becomes your most valuable tool, as proper drying time is essential for a flawless finish. The average drying time for stains is typically 24-48 hours, but the product label will provide the most exact instructions for proper curing.
Maintain optimal drying conditions by keeping the room temperature between 70 and 75 degrees Fahrenheit and relative humidity around 50%. Use fans or open the windows, weather permitting, to promote air circulation without blowing directly onto the floor. During this time, avoid all foot traffic and protect your work from dust, debris and pet hair that could settle into the tacky surface. Remember that darker stains and oil-based products typically require longer drying periods than lighter or water-based alternatives.

Step 6
Apply a Protective Finish
Once your stained floors are dry, it's time to seal in all that work. Use a high-quality polyurethane finish to apply thin, even coats, starting in the farthest corner of the room and working toward the exit. For optimal durability, apply at least three coats, allowing each layer to dry completely. Lightly sand between coats with fine-grit sandpaper. Be sure to vacuum and tack between coats to remove dust or debris that could mar your final finish.
Allow the final coat to cure for at least 24 hours before placing furniture back in the room, and wait a full week before laying down rugs to ensure the finish has completely hardened.
Maintaining your Hardwood Floors
Once you've finished your floors, you want to keep them looking nice as long as possible. Follow these tips to maintain the finish on your floors.
- Regularly vacuum and sweep
- Immediately clean spills with a dry or damp cloth.
- Use a dedicated hardwood floor cleaner when mopping, and avoid using harsh chemicals
- Protect high-traffic areas with floor rugs
- Minimize excessive moisture
- Use furniture pads on furniture legs to prevent scratching.
With proper care, you'll only have to sand and refinish your floors every 10 years.

Your Beautiful Floors Await
Staining hardwood floors may seem daunting, but with the right tools and preparation, you can achieve professional-looking results that will transform your space. For help finding the best tools and formulas for your space, visit your neighborhood Sherwin-Williams.


